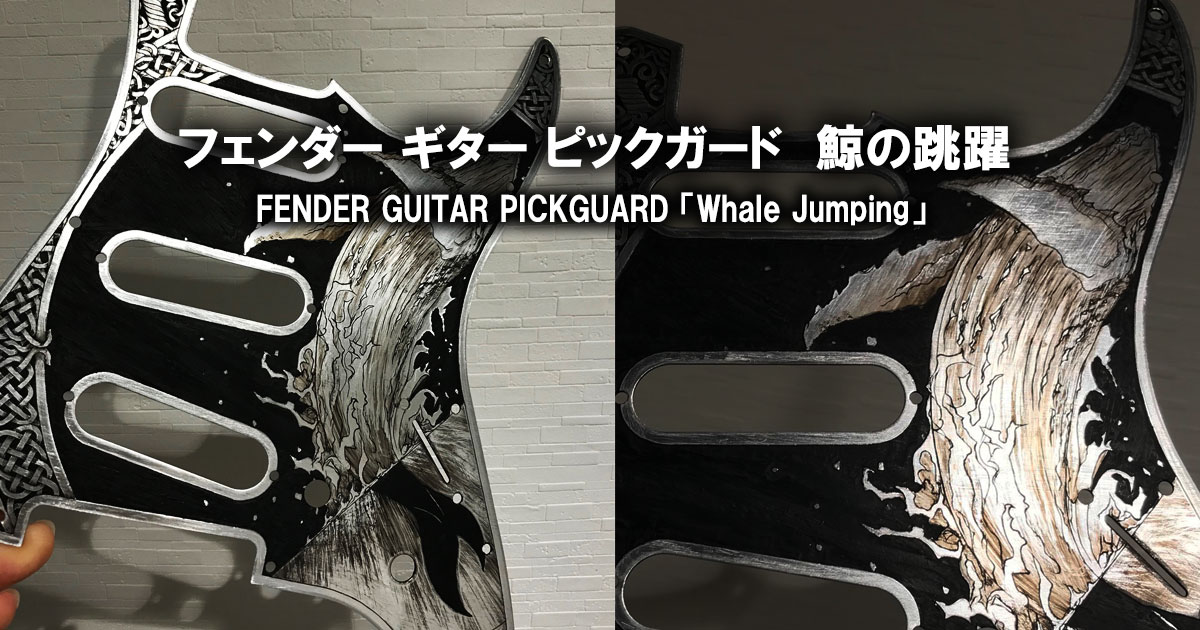
From design to line carving
デザインからすじ彫りへ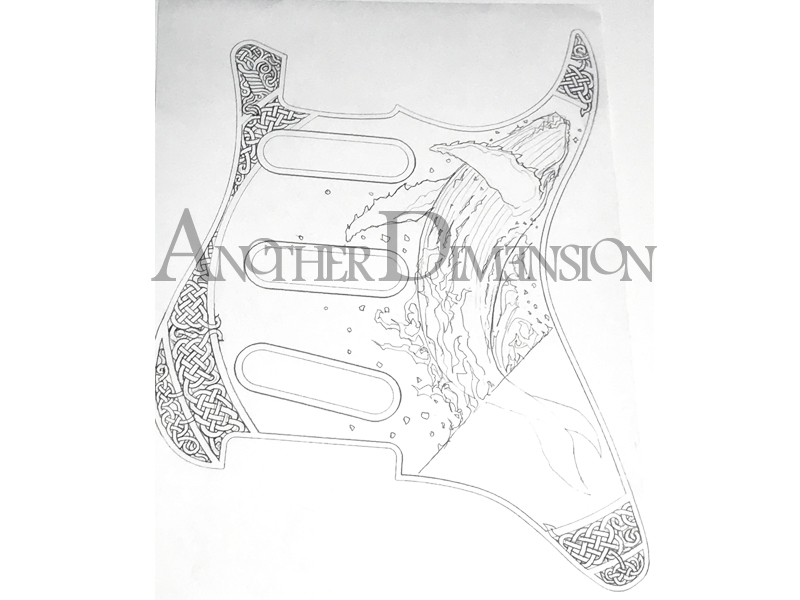
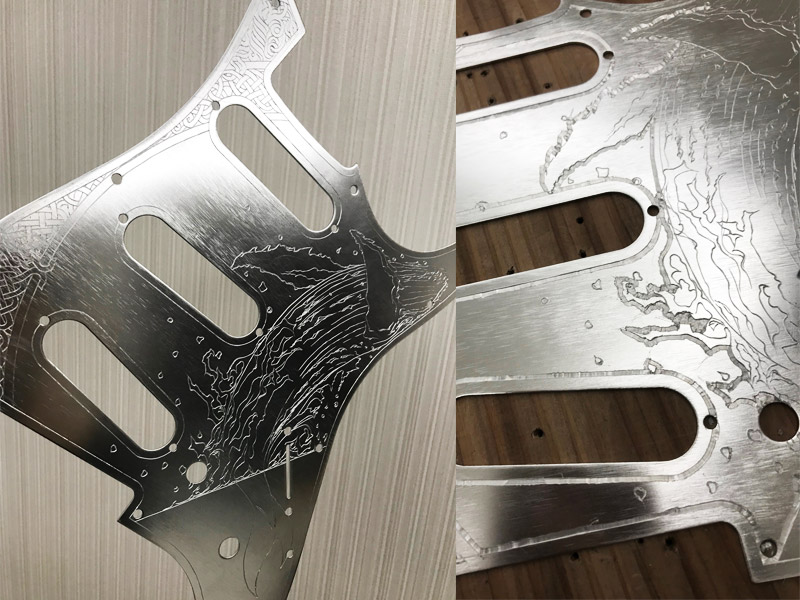
今回のモチーフは「鯨」になります。
鯨のジャンプをどのようなレイアウトでフィットさせ、背景などをどのように仕上げるかが肝となります、
ザトウクジラにケルティック模様をアレンジしてデザインしました、
海中の尻尾の部分のカラーを反転させたところがポイントになります。
慎重にすじ彫りからスタートして、ブラックアウトする部分の段落としを行います。
ルータービットの段落とし柄では合わない為、今回は全て細目の刃で彫っていきます。
English translation
This time's motif will be "whale".
The key is how to fit the whale's jump and how to finish the background etc.
Designed with a humpback whale arranged in a Celtic pattern.
The highlight is the inverted color of the underwater tail.
Carefully start by carving the lines and then create the paragraphs in the areas that will be blacked out.
The router bit's paragraph and handle won't match, so this time I'll carve everything with a fine blade.
Inking, sanding, coloring
墨入れ、鑢がけ、カラーリング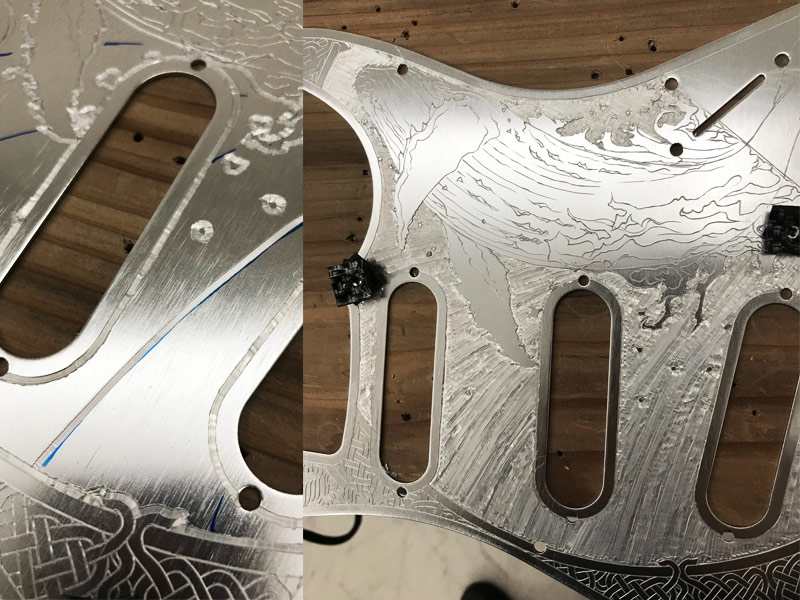
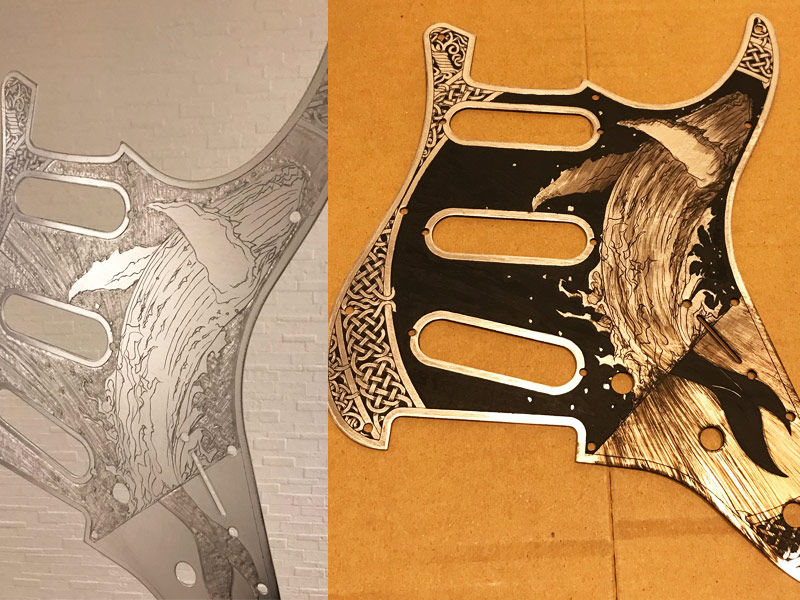
黒にする部分を平になるまで彫り、再度縁を整えていき墨入れ作業に入ります、
今回のアルミは固く、リーフなどのヘアラインが入れられなかった為、カラーリングで表情を出していきます。
色付けは気に入ったラインができるまで何度もやり直して仕上げていき、
サンドペーパーで削りながら更に表情を出していきます。
English translation
Carve the part to be black until it is flat, then adjust the edges again and start inking.
The aluminum we used this time was hard and we couldn't add the hairlines of the leaves, so we added coloring to give it a different look.
The coloring is done over and over again until you get the line you like.
While sanding with sandpaper, I will create more expressions.
Finish with a router and complete
ルーターで仕上げて完成へ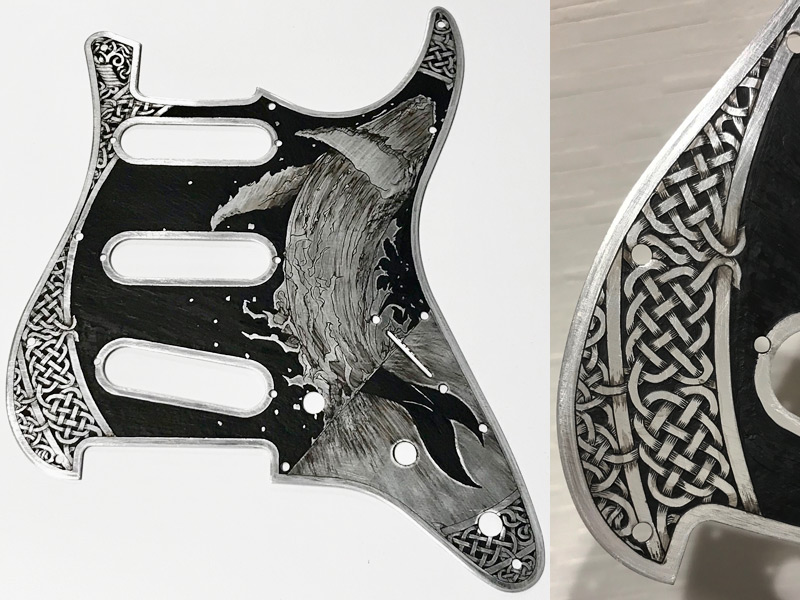
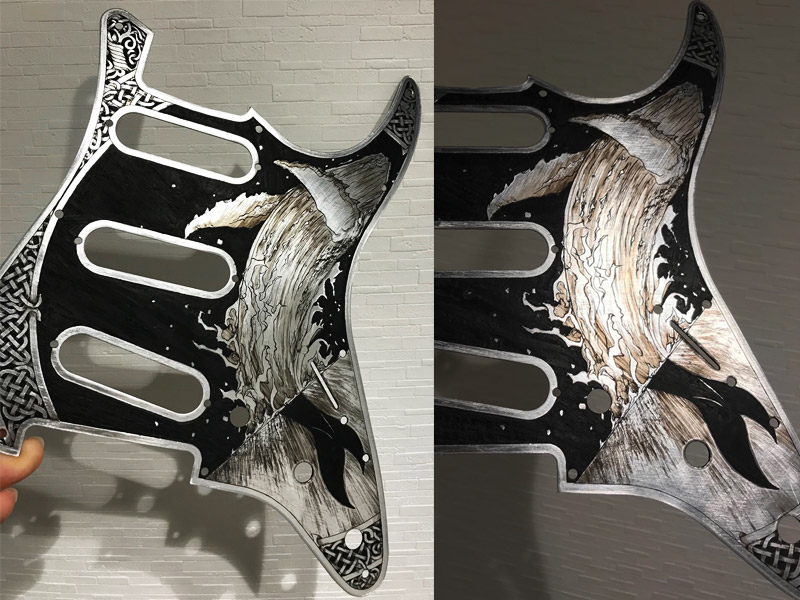
波飛沫の部分などをルーターで光沢を出して面取りなども行い完成です、
ケルティック模様は陰影が判りにくかったので影を追加で彫りました。
English translation
I used a router to make the splashed areas glossy and chamfered them to complete the look.
The shading of the Celtic pattern was difficult to distinguish, so I added additional shading.

